How To Tidy Cabling
Published:
Updated:
February 19, 2021
May 20, 2024
A little while back, my good lady wife’s bike was in need of a spring clean so I took the opportunity to finally cover something I’ve been meaning to do for ages – cables. But this is not so much a ‘how to setup and tune your brakes and gears’ and more like ‘how to keep your cabling tidy when you do it’…

The cable of choice for me at the moment is the Jagwire ‘Racer’ or ‘Hyper’ range – they’re available in loads of colours, and are one of the very few cables that you can get in purple (to keep said good lady wife happy). They also happen to be really good quality inners and outers and have neat finishing touches like gold-coloured cable end crimps.
Here’s what I started with:


Not overly horrendous in that they’re all smooth curves and there’s not miles of excessive cable, but still pretty untidy. Those inline cable adjusters are nigh-on pointless too. So how do we tidy that up?
Step 1 – Brake Cable Outers
Starting with the brake cable outers, insert one end into the lever cable exit point, follow the curve of the bar to be sure of the correct cable length when the bar tape is wrapped (you can tape the cable to hold it in place if need be) and measure your cables such that you have nice cable curves that meet in the centreline of the head tube – here the rear cable portion is done and I’m marking the front to cut:

Mock it up with a cable inserted and tightened to make sure your bars are able to turn without the brakes getting pulled tight – there’s often a fine line between getting a tidy meeting of cable curves and going too short such that your brakes engage when the bars turn.
Step 2 – Gear Cable Outers
Cut your gear cables to follow suit – i.e. follow the bar curve again (making sure to follow the side of the bar that you intend to run the gear cable along) and try to get nice smooth curves of cable that meet in the head tube centreline:

Again, watch that turning the bars isn’t going to create ghost shifts.
Another handy tip here: generally you can cut the gear cable outers to the same length as they will follow the same path along the bar and the cable stops are in the same place either side of the frame. Some people prefer to cross the cables here – I don’t, for reasons I’ll come on to.
Step 3 – Rear Brake Cable Portion
For the portion of cable between the frame cable stop and the rear brake the key is to not make it too long and loopy whilst also not making it too short, and all ultimately whilst displaying the cable brand logo:

It’s put there to serve as a nice feature so why not use it?! Note that this is a point where you can look particularly stupid if you opt to run Campagnolo cables on a Shimano setup or vice-versa…
Aim for a nice, dead straight run of cable into the rear brake cable stop – this should give you a nice curve of cable without affecting the brake performance:

Step 4 – Rear Mech Cable Portion
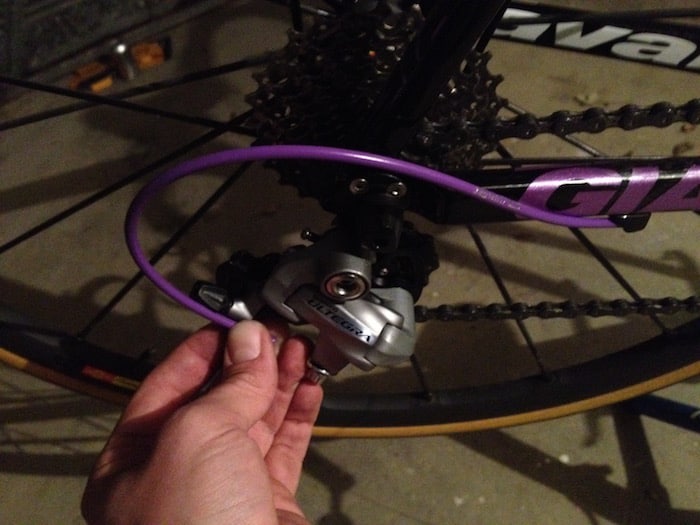
For the small section of cable between the frame stop and the rear mech, aim to mimic what you just did with the rear brake – have the logo on show and make the cable run nice and straight into the derailleur:

(this one is actually just slightly too long, but as you can see it was dark and getting late!)
Finished Article
And here’s how it looks when it’s all done:


Nice and tidy, not too long, not too short. Well, in fact the rear gear cable is still a little too long here, but it’s still much nicer than it was before (the front brake cable will tidy up when the front wheel is back in and the brakes are properly closed up too).
[shop_bike]
Some Tips
When using cables such as the Jagwires which aren’t brand-specific the end of the gear cable you need to use is marked – on the pic below you can just about make out the ‘C’ on the ferrule indicating this end is the Campag end:

Also, here you can see how nice and open I’ve made the cable outer end after cutting – doing this keeps the cables running nice and smoothly without catching:

When you’ve cut the cable inner to length after installing you can either use the cable end crimps that will be supplied with your cable kit, or a dab of some strong glue if you want to keep it looking more clean (don’t use super glue – it dries brittle and will flake off). If you want to keep things super-clean and make re-cabling without waste a possibility (and you have the kit and know what you’re doing) then you can use solder to finish the cable off.
Why I Don’t Cross Cable
If you’re not sure what I mean by ‘cross-cabling’, here’s a shot showing the rear derailleur cable going to the cable stop that you’d normally use for the front derailleur:

The idea being that you do the same with the front derailleur and then cross the cable under the down tube. There’s rarely (if ever) any real need for it, and because it makes the cable cross the head tube I actually think it looks much less tidy.
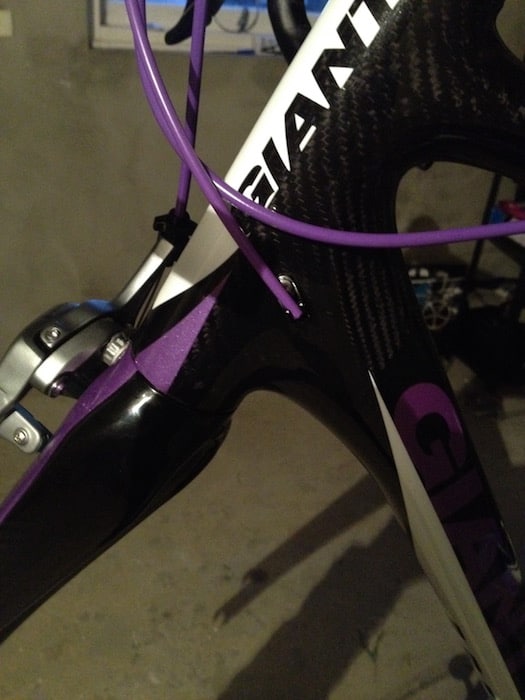
My wife’s bike is a prime example of why cross-cabling often doesn’t work – here you can see it just isn’t possible due to the frame construction:

For what it’s worth, many carbon frames are likely to be the same. For example, whilst you could cross cable on a pre-2014 Cervélo R3 it carried zero benefit as it made the cable outer longer and there was still a kink in the cable behind the head tube for the cable outer to reach the guide.
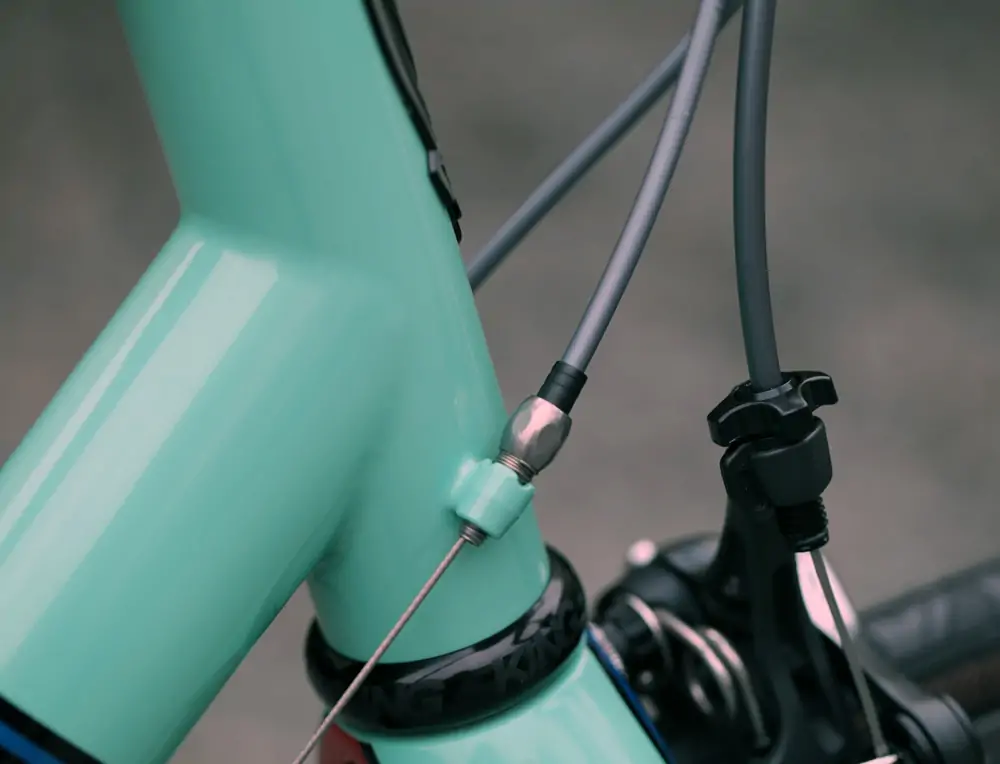
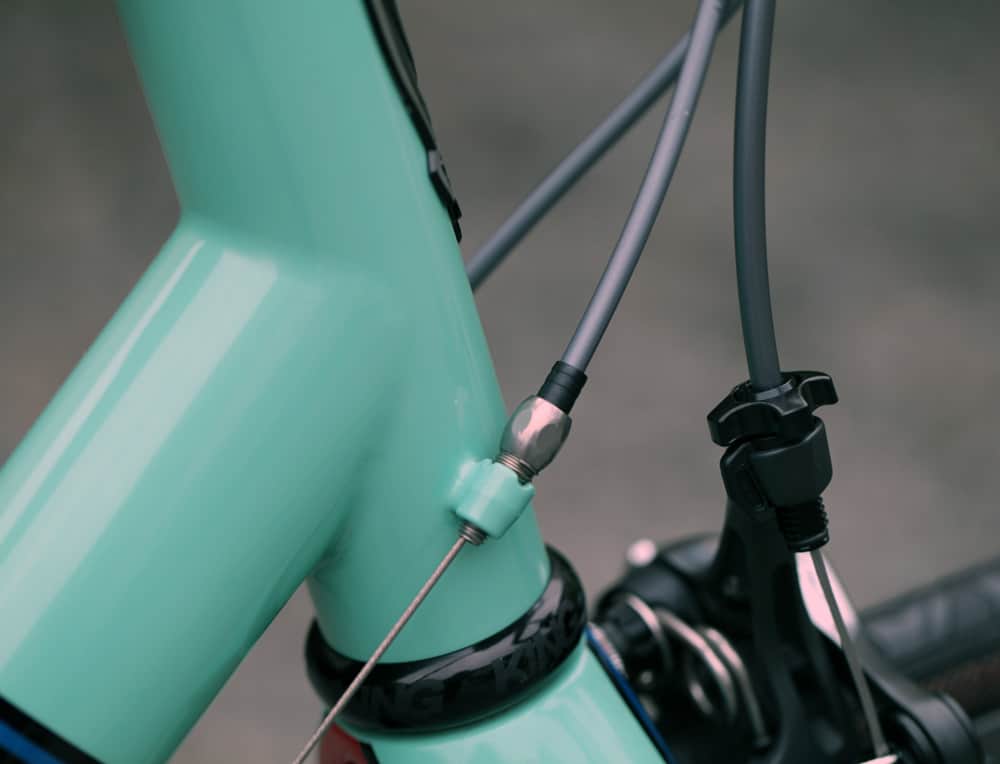
And then of course there’s the hand built or high end frame designed such that cross-cabling just isn’t necessary:

Couple that with the resultant confusion regarding cable adjusters and you’re hopefully beginning to see why it’s a ‘rule’ [No. 73] I just cannot understand…
Rich
In my circa 35 years of riding I have only ever taken my bikes to a shop when I needed to ask nicely to borrow a tool that I didn’t have - usually in return for a quantity of beers proportionate to the number of staff who worked there, the value of the tool in question and/or the amount of workstand time I wasted.
The number of bikes I have owned is a number that I don’t want my wife to know. Years in the bicycle industry in various guises interspersed a corporate career, ultimately leading to becoming founder, owner, CEO, spanner monkey and Tea Boy of my own home-based workshop, which is The Best Job in the World; and is where I currently practice a solid amount of Yelling At Bikes.